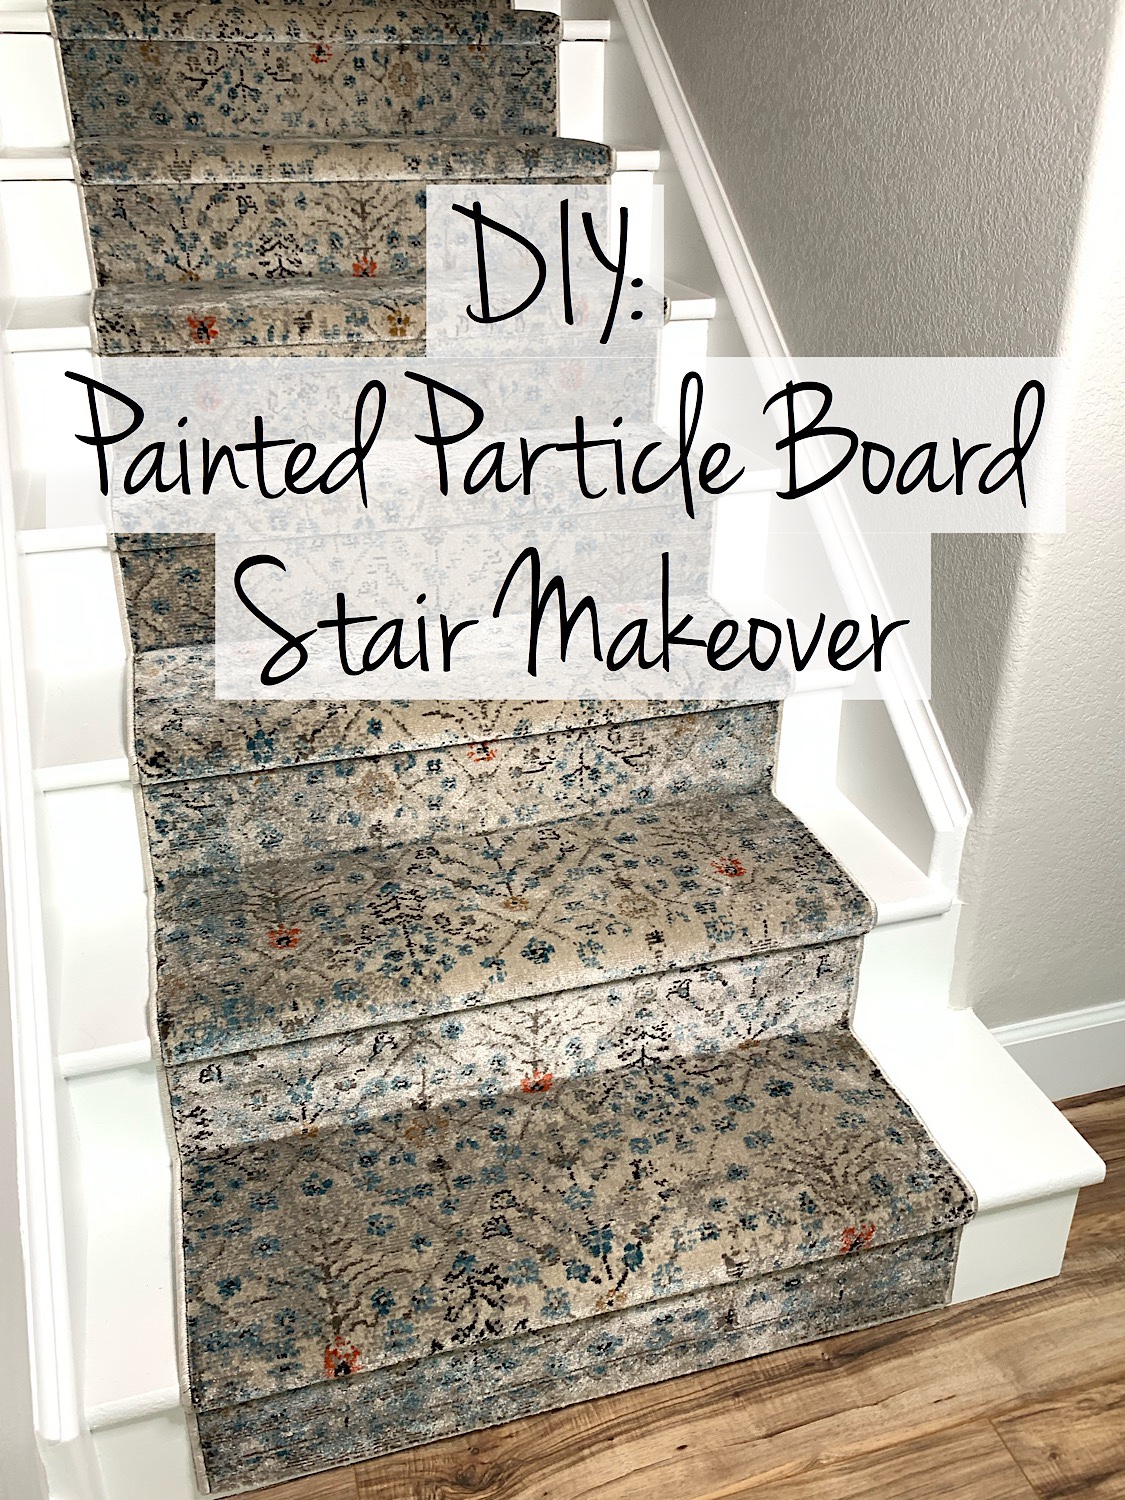
This stair makeover has been a long time coming at our house. We installed laminate flooring over three years ago on our main floor but didn’t do the stairs cause we weren’t sure what we wanted to do with them. I didn’t like the laminate look on the stairs, carpet wasn’t the direction we wanted to go either, and installing hardwood stair treads was not an option because it was too expensive. So we were left with figuring something out with particle board stair treads.

I started looking through Pinterest for ideas and I really liked the painted stair look, so I decided to go toward that direction. You may even notice in the before pictures that I tried painting the bottom stair years ago to see that outcome, I didn’t love it. The further I looked into painted stairs the more I was worried about my five year old (and honestly me too haha) slipping and falling down the stairs. Then I discovered many pins where people used a couple rug runners for stair runners and an inexpensive DIY. I then realized I wanted the painted stairs with a runner for our stairs.
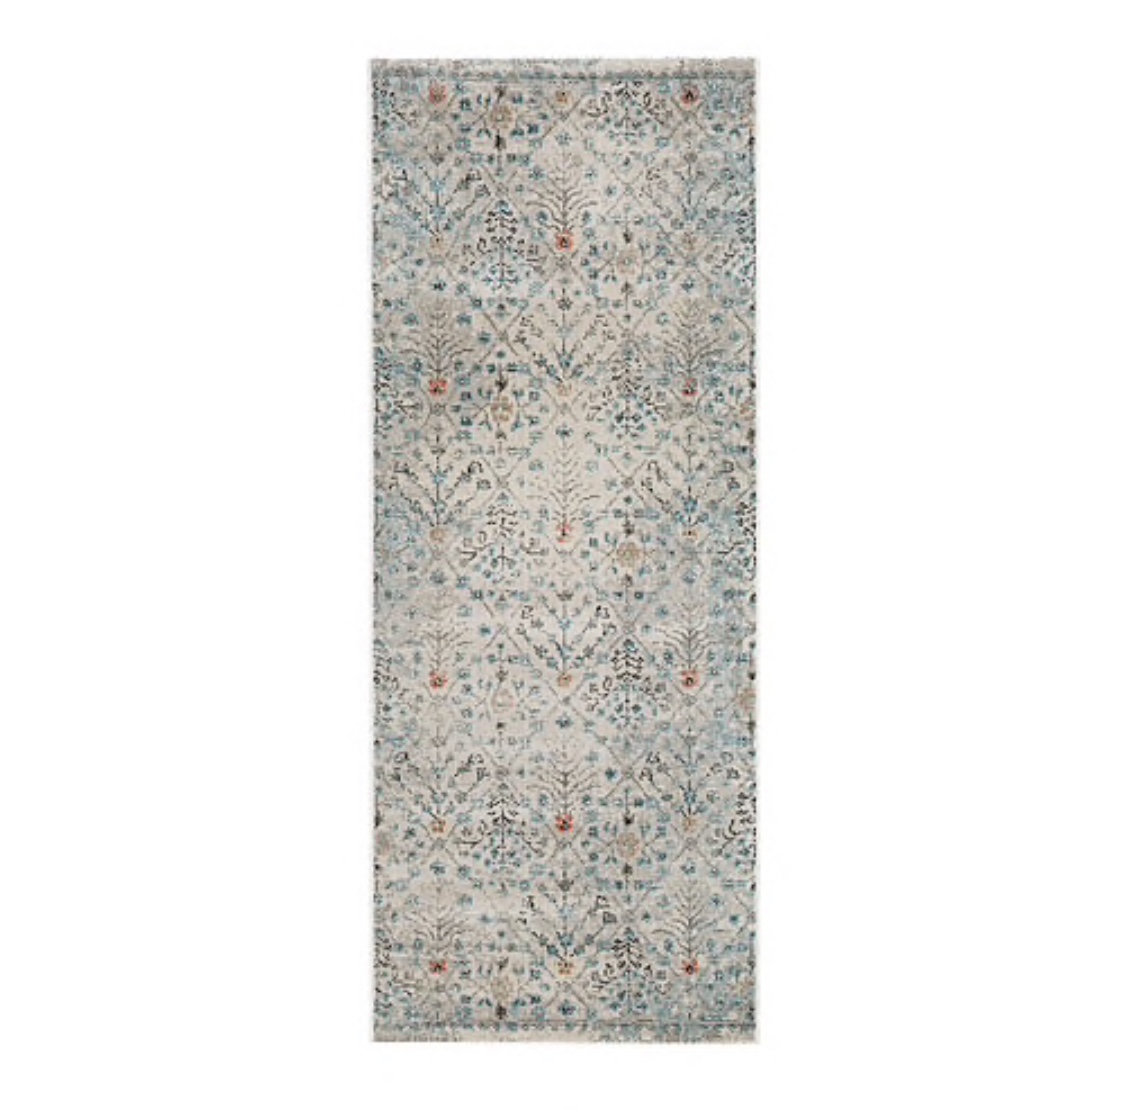
My husband and I started by finding the runner we wanted to use. We it at Ikea, the ROMDRUP rug runner. Unfortunately it was such a new product that they only had the display up and no stock of it yet. So we went back home to get to the dirty work knowing in a couple weeks they would have stock and then we could finish the project.
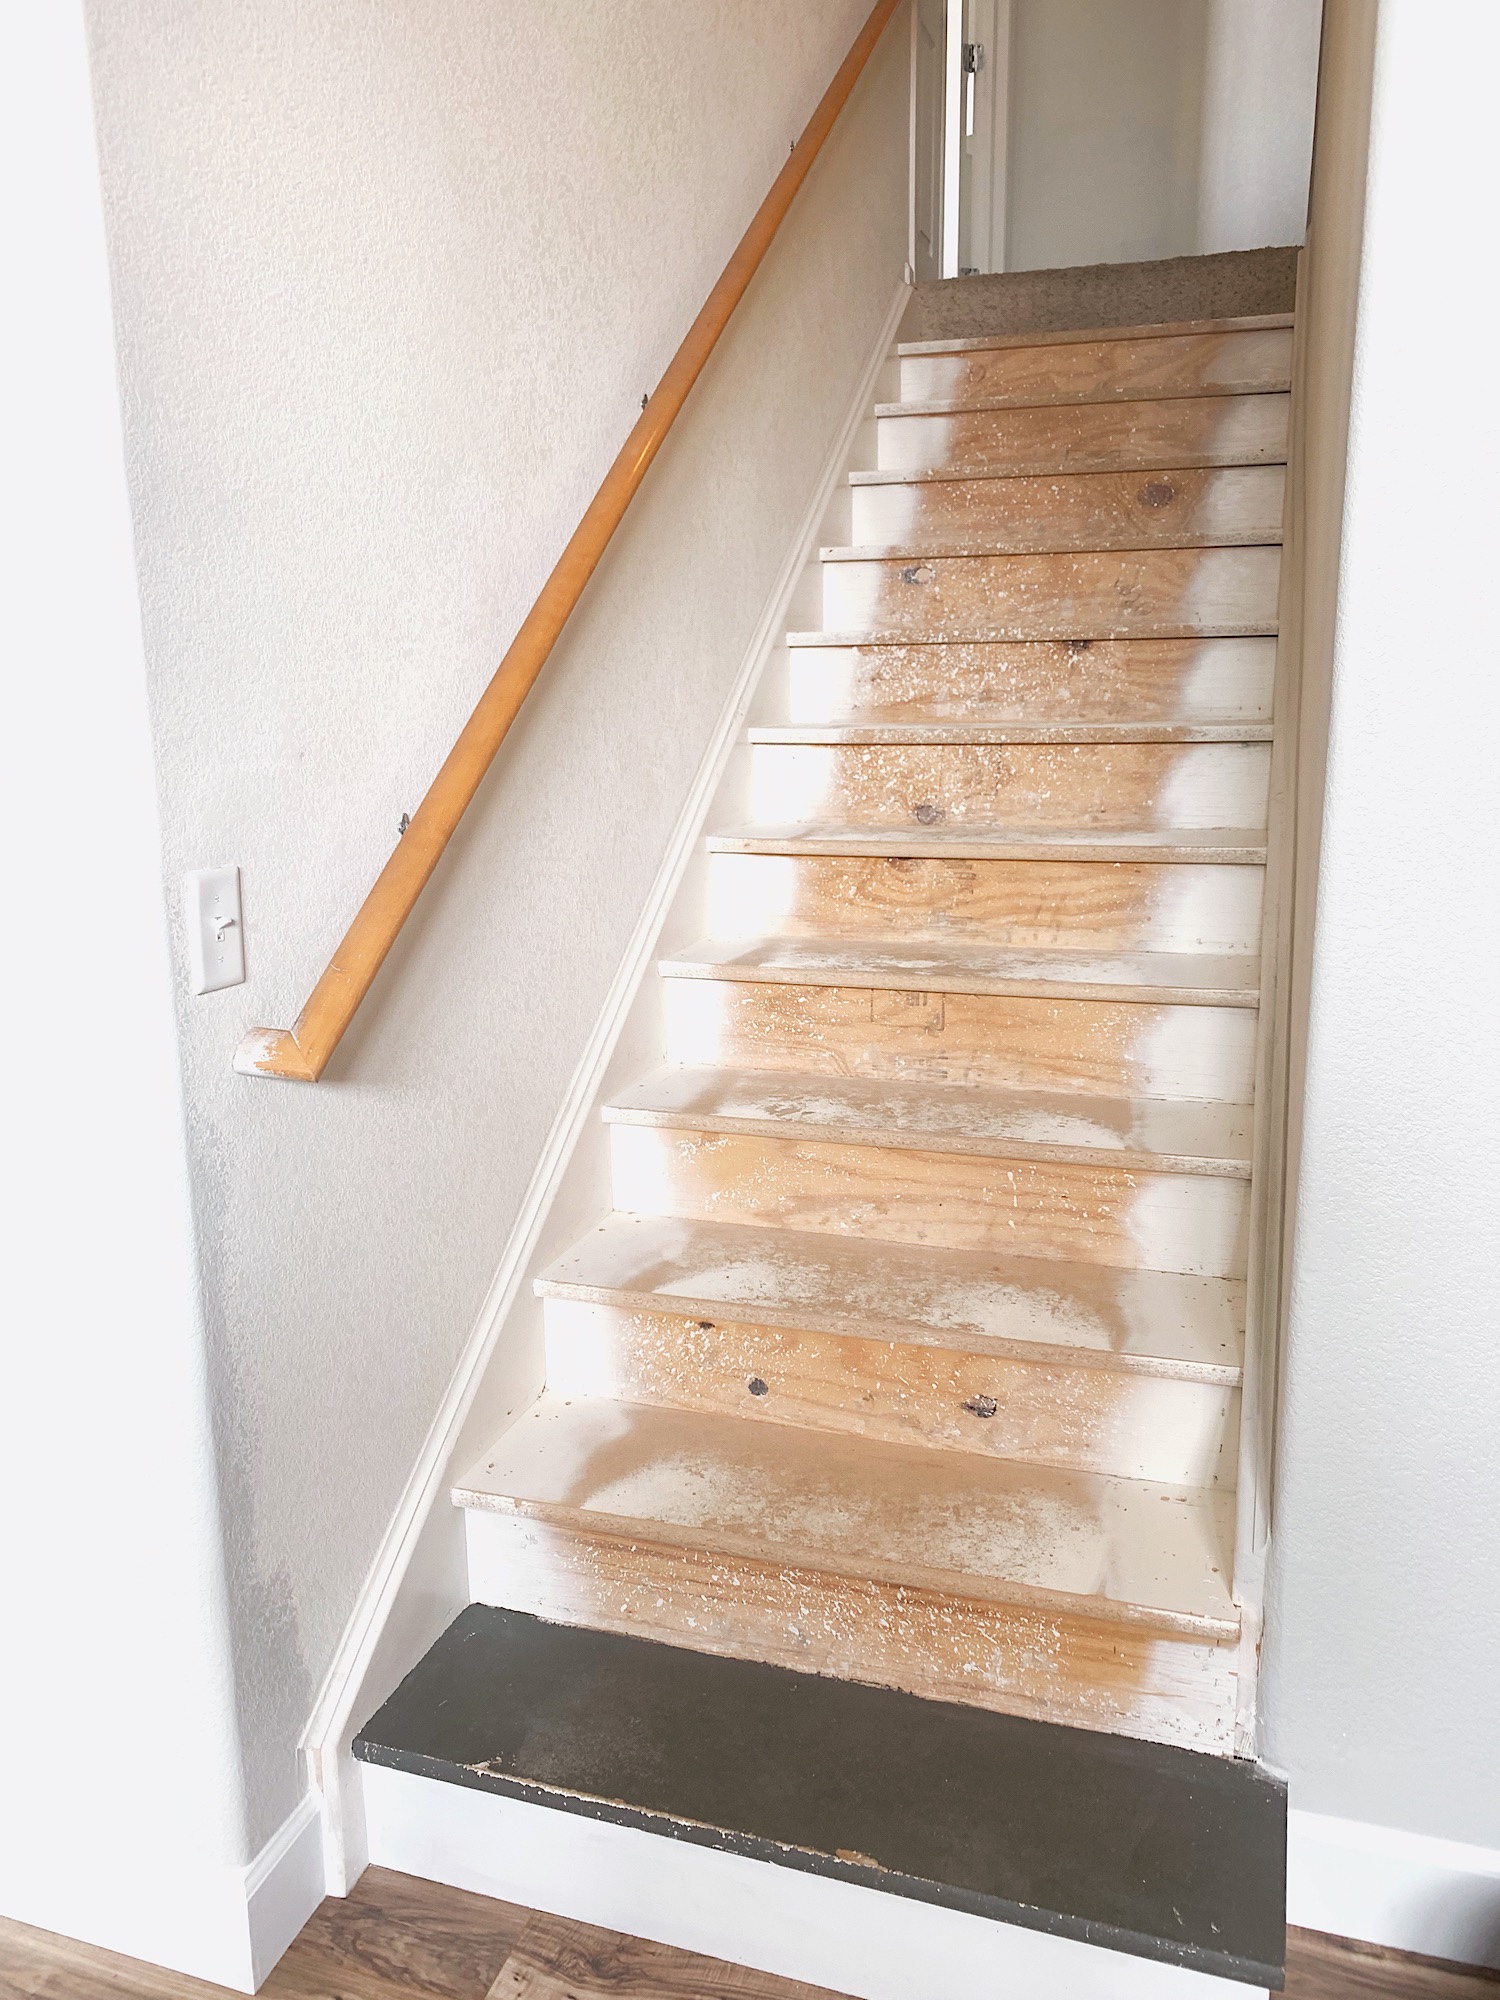
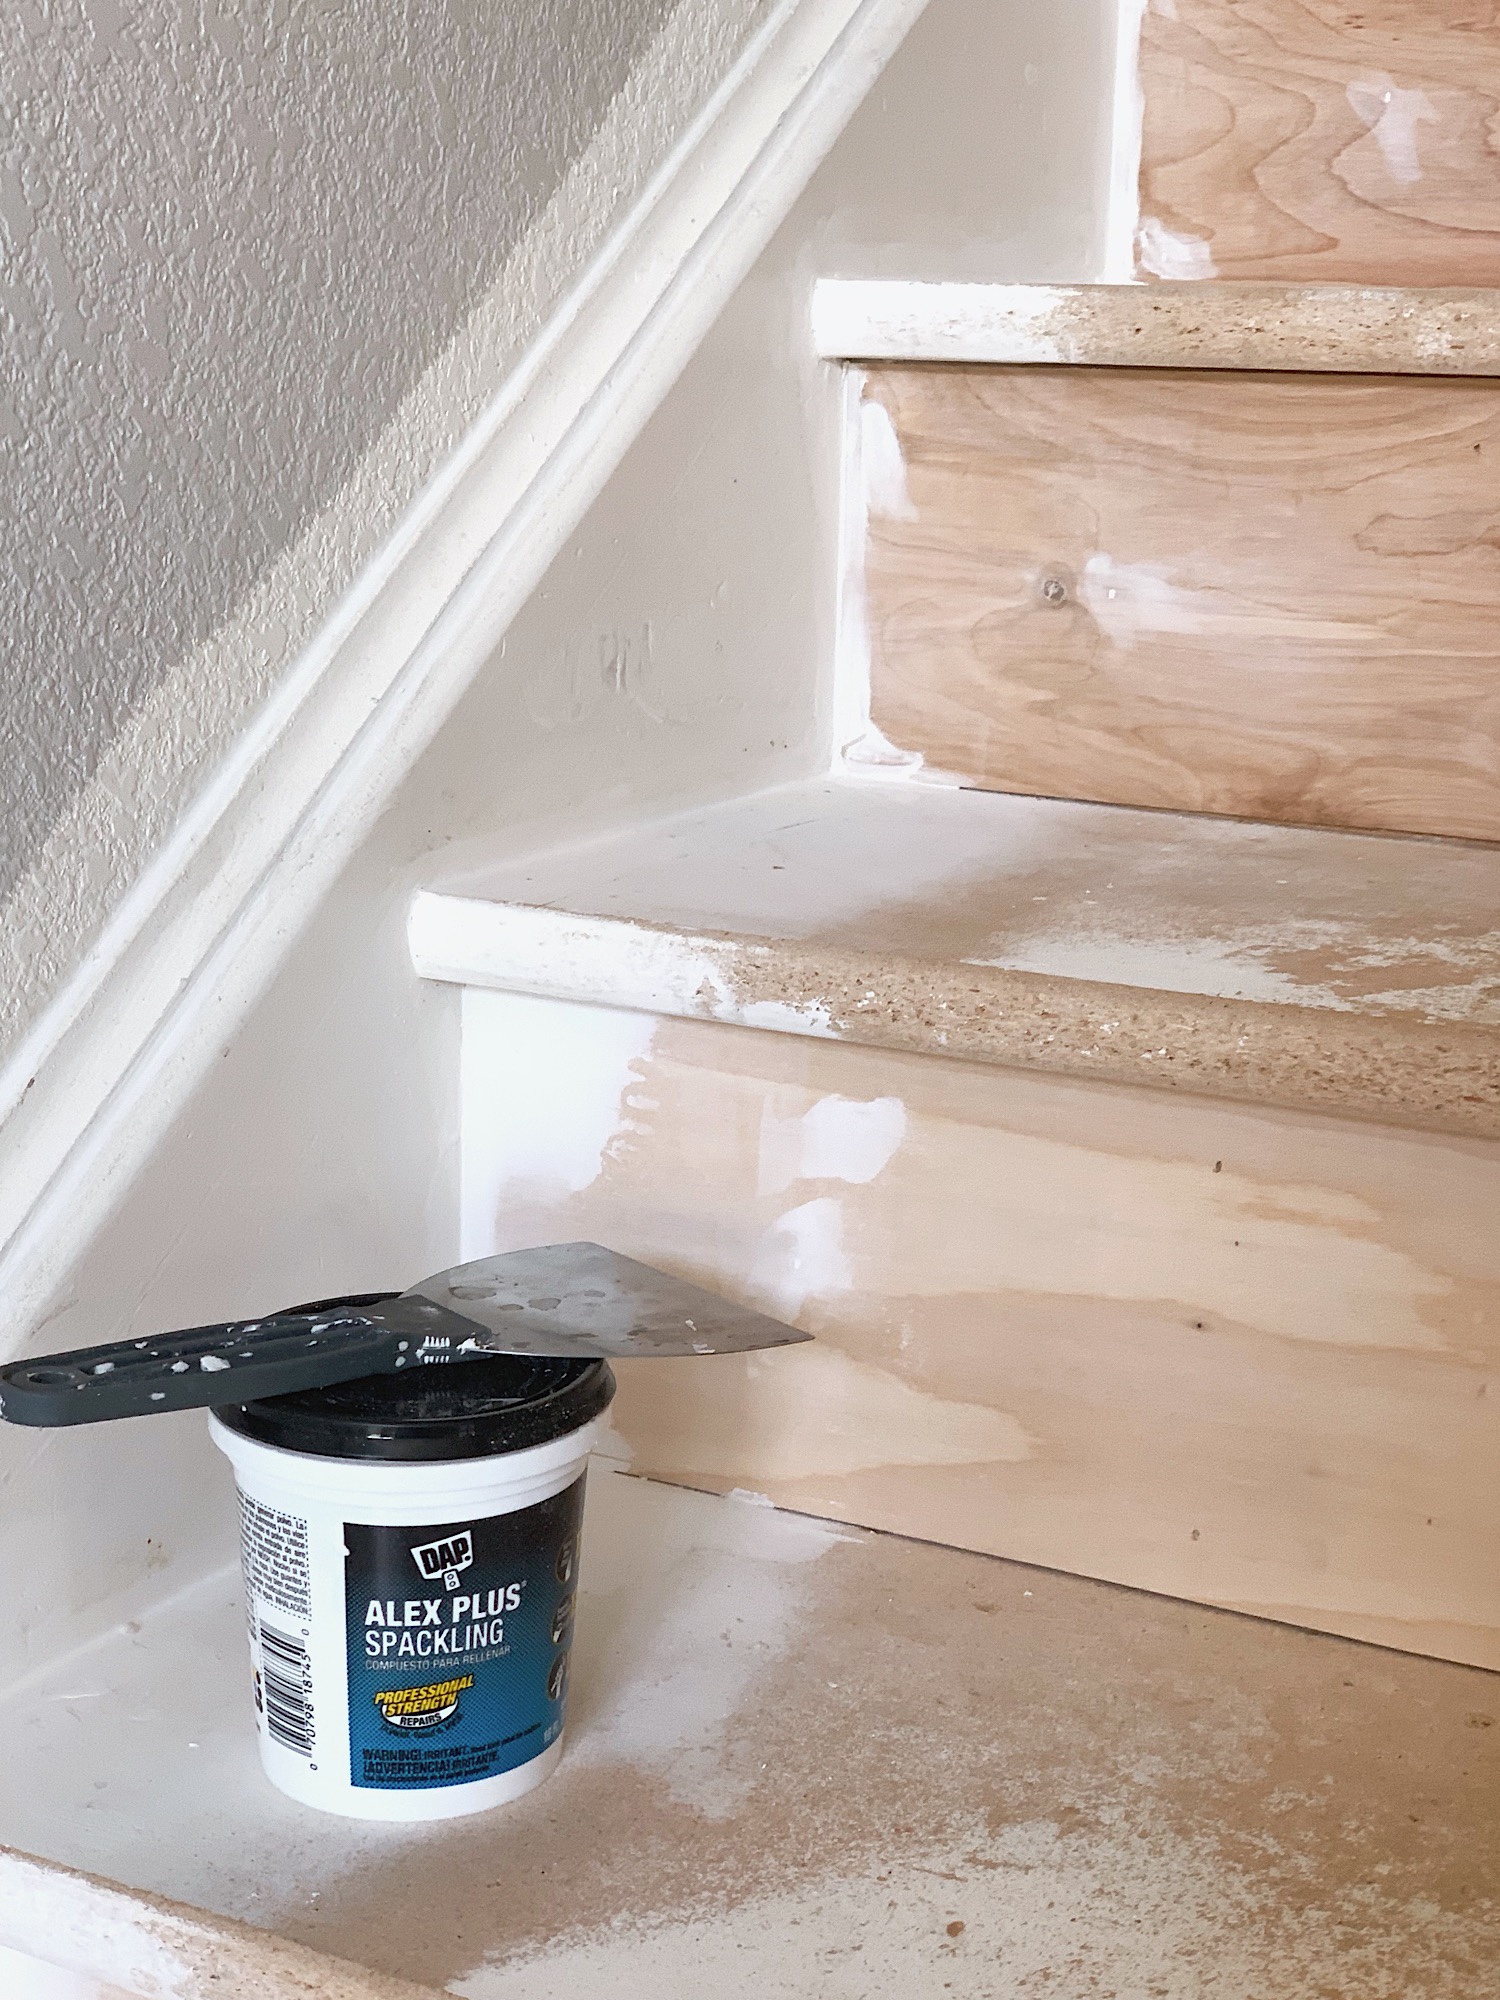
First we tore up the carpet and my hubby faced the fronts of the stairs with a 1/4″ sanded plywood. We added this to cover the rough plywood. We installed the new sanded plywood using liquid nails and Ryobi 18v Brad Nailer (18ga). We spackled the nail holes and the rough parts of the particle board stair treads. Pro Tip: If you are doing a runner down the stairs only spackle and paint where it will show. You’ll save yourself a whole lot of time and money not doing the whole stairs. After the spackle dried we sanded it to make the stairs smooth and even.
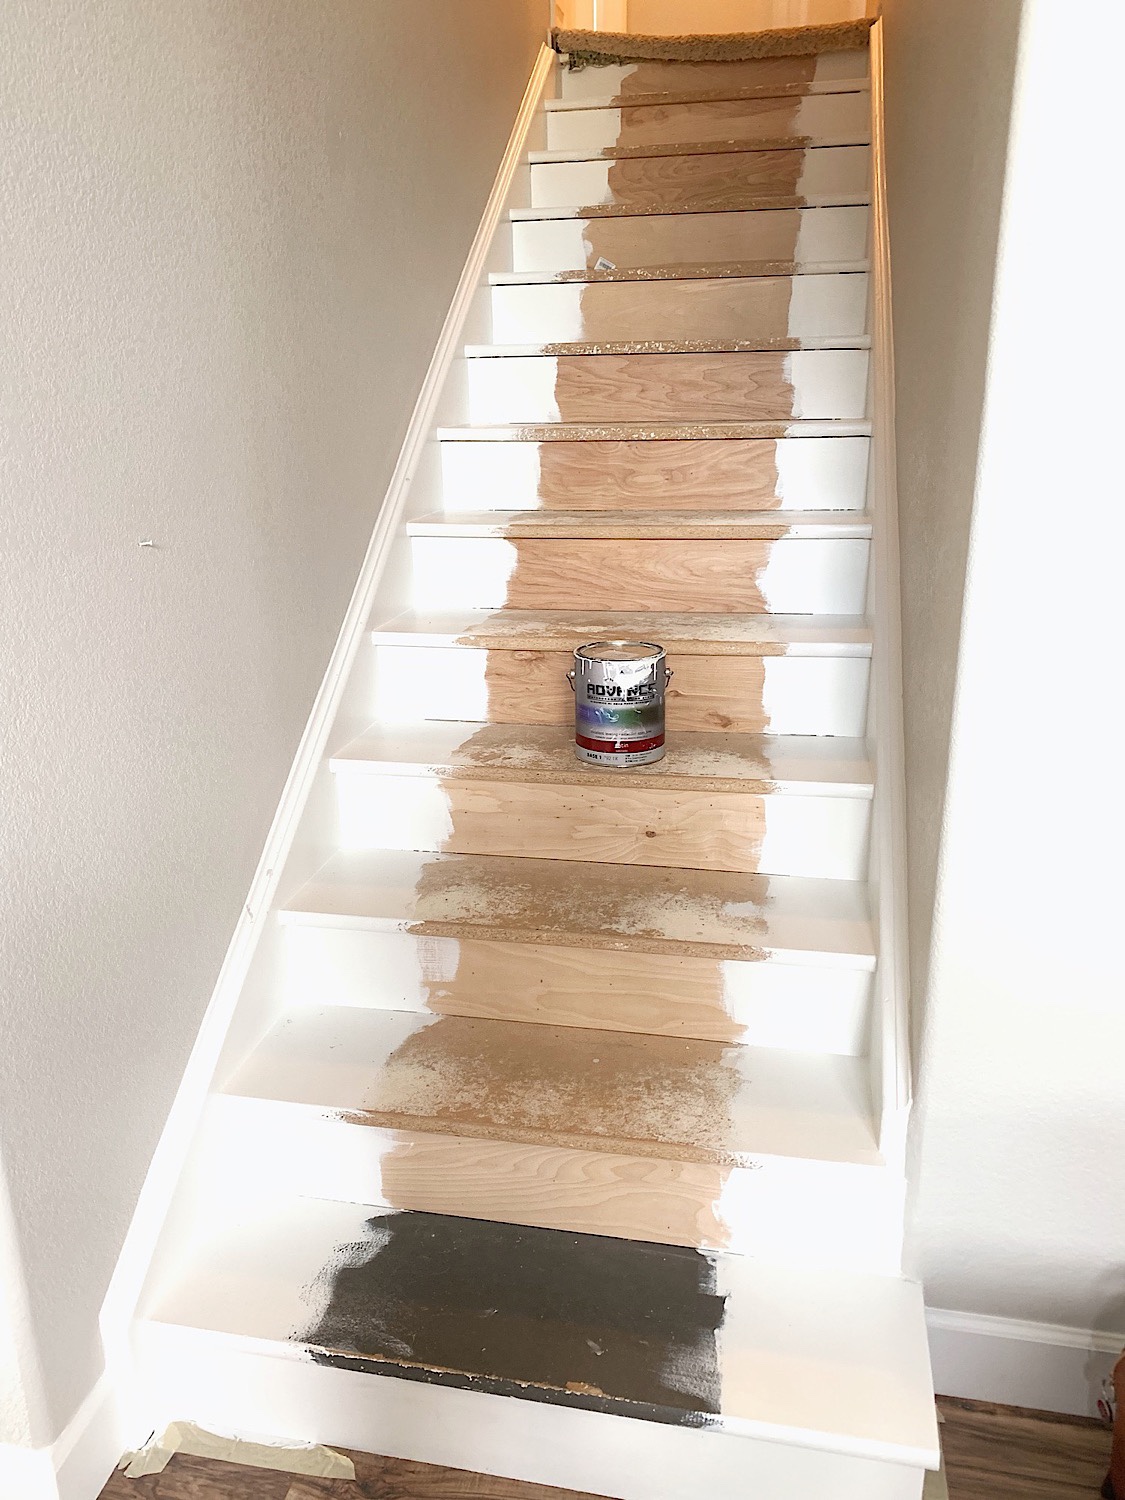
The next step was painting. I went with just a classic white since our runner was gray and had color to it. This Benjamin Moore Advanced paint is AMAZING! We used it on our kitchen cabinets when we painted them three years ago and have loved using that paint for many projects. It goes on even, dries nicely and is super easy to work with. It also is durable and since the stairs get a lot of traffic I wanted something that would hold up. I did 3 coats, the 3rd coat was only needed on the plywood wood facing. It was bright white and the stairs were starting to come along!
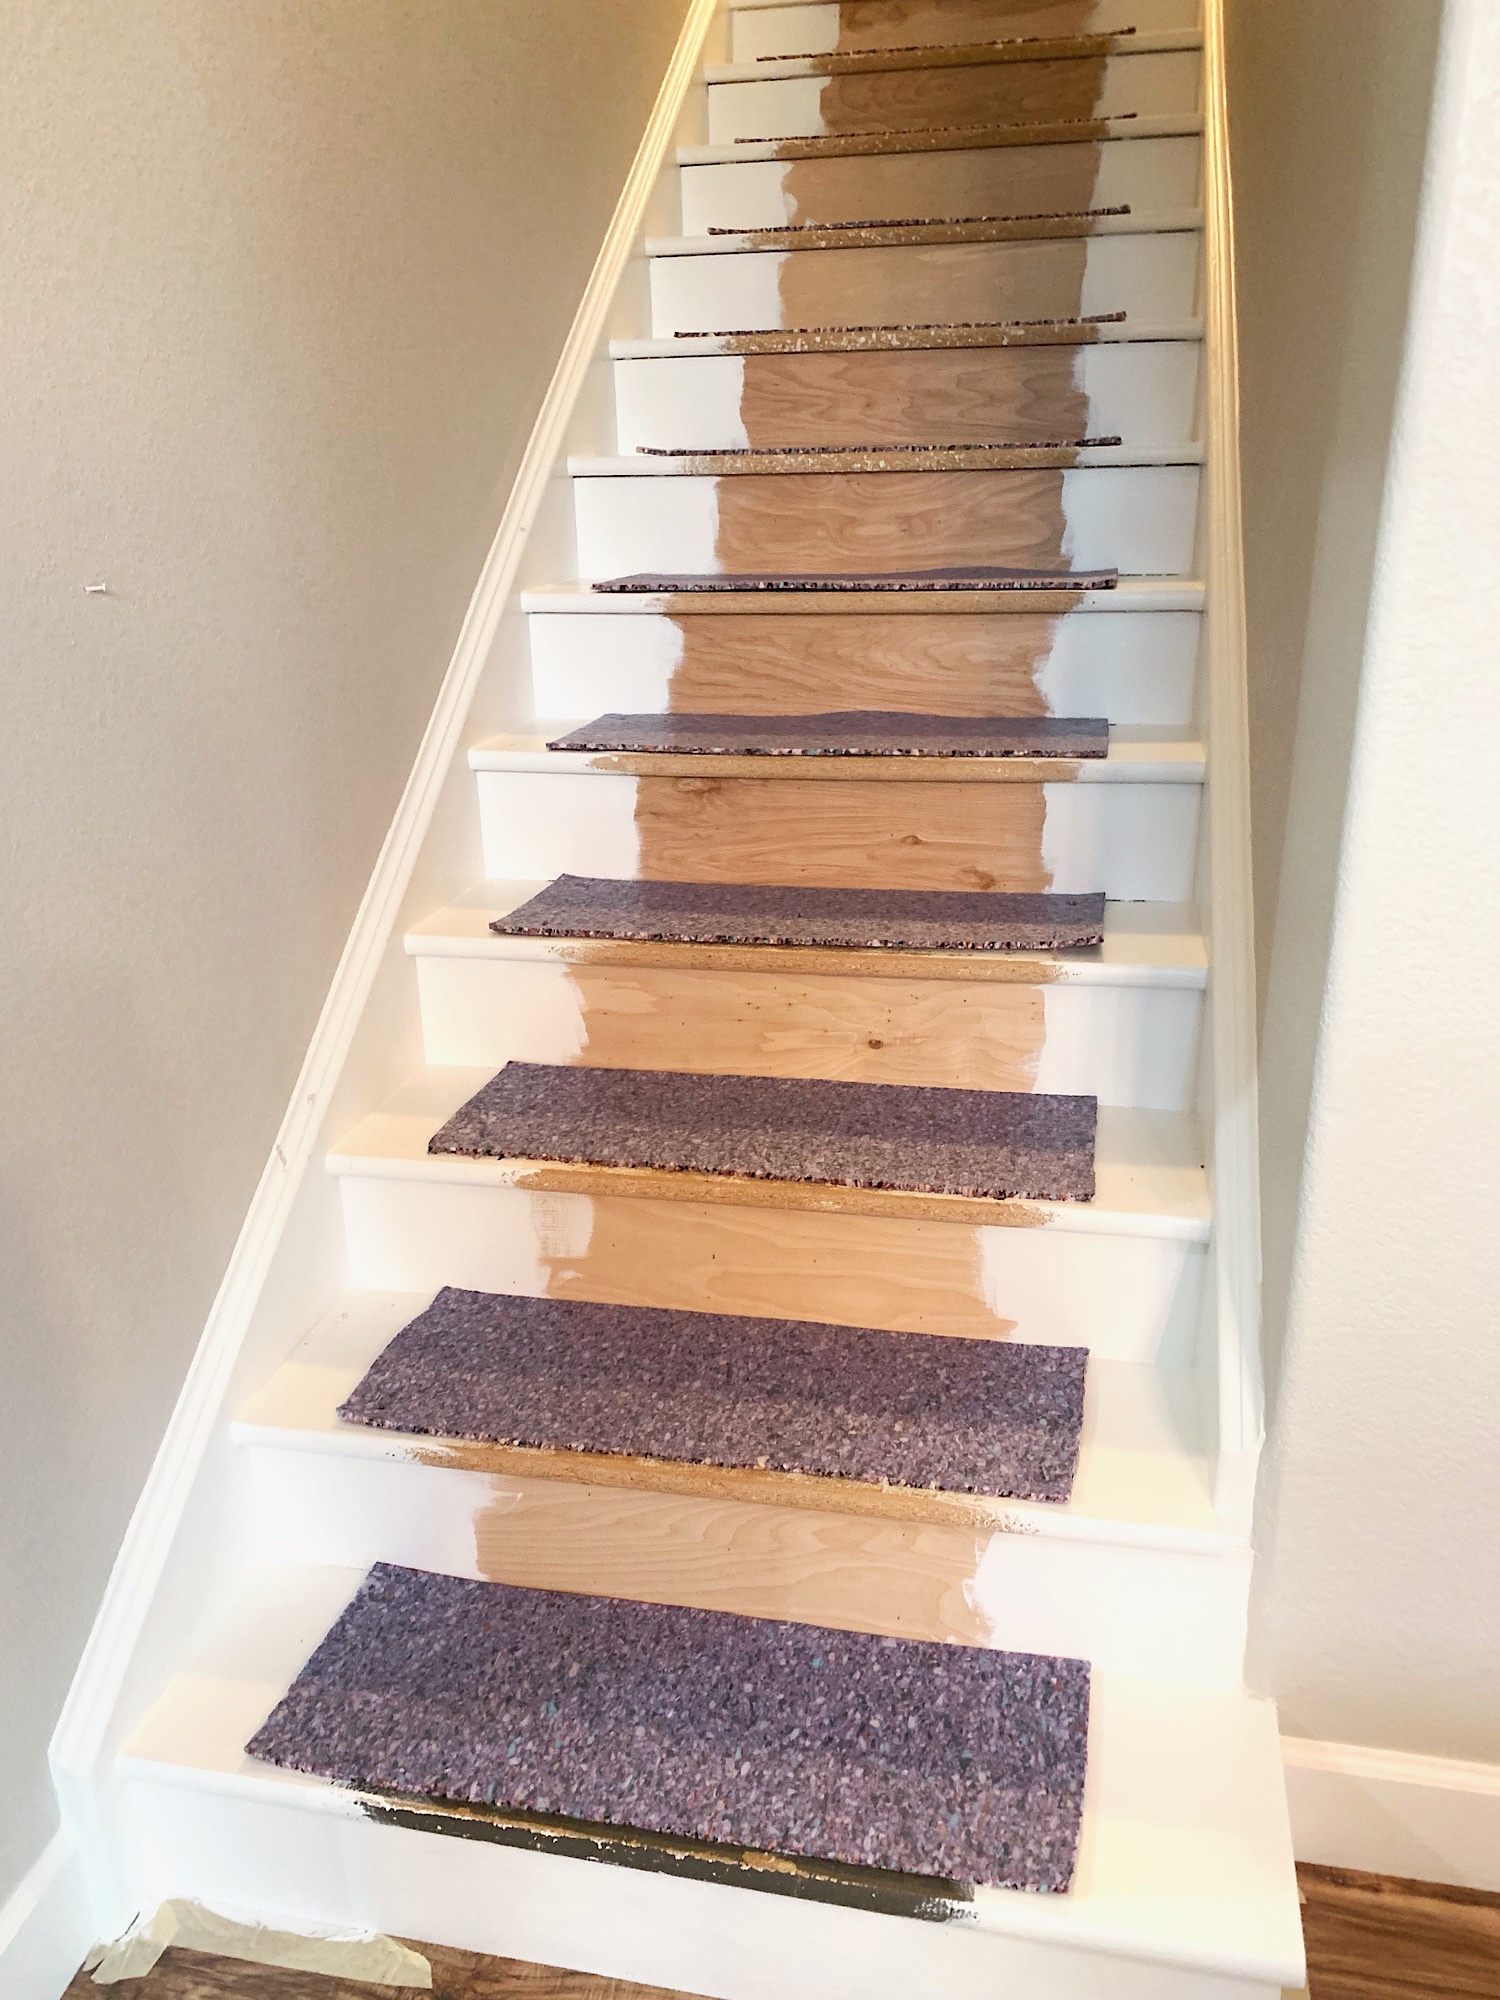
Now that we finished all of the dirty work we crossed our fingers and took a trip to Ikea to see if they had stock of the runner we wanted. Thank goodness they had it cause I don’t think I could live with the loud slippery hard stairs any longer. My husband also picked up some carpet pad at Home Depot to have under the runner to help with cushion and wear. He installed that with a staple gun and left about 1/2″ on all the edges so it didn’t peek out of the runner.
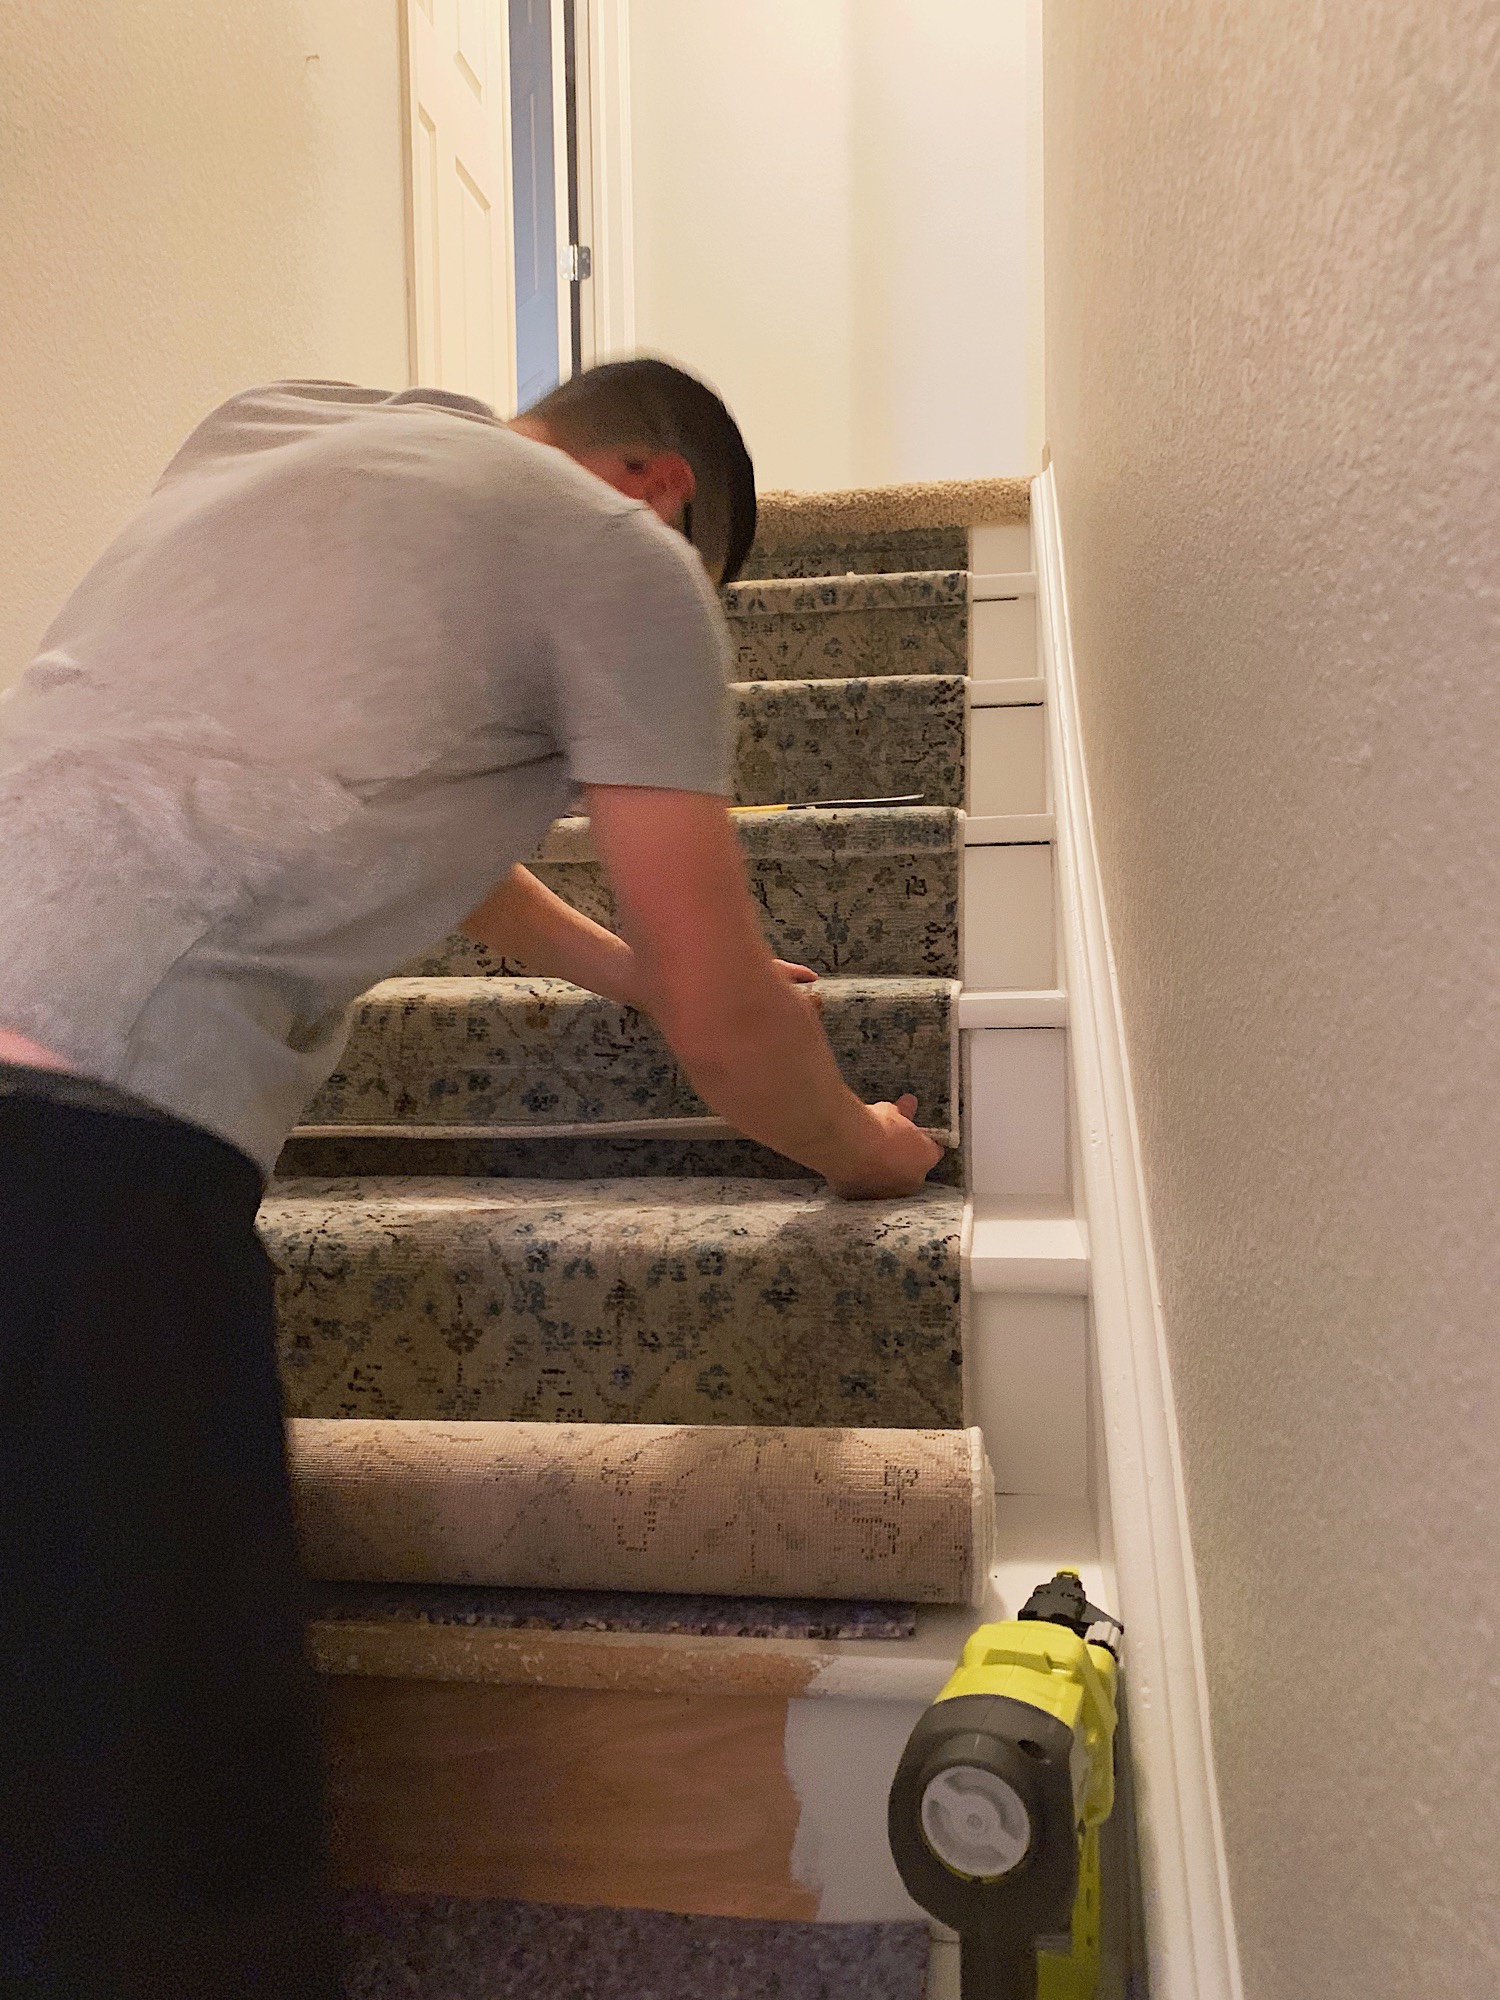
He started installing the runner at the top of the stairs and used the staple gun again to secure it down. The staple gun of choice was the Ryobi 18v Crown Stapler (1/4″). He stapled it right up under the lip of the stair so that you wouldn’t see the staples. The pil of the rug was a little higher and the staples were hidden no problem. That was nice since he secured it down on the tops on the stairs in randoms spots too. It took a little while to make sure that the runner stayed even going down the stairs but rather go slower than fast and have to pull it back up to fix it. We bought four runners but thankfully used exactly three. Make sure if you are doing this kinda project to buy more than you think you need, you don’t want to run out of the rug half way through.
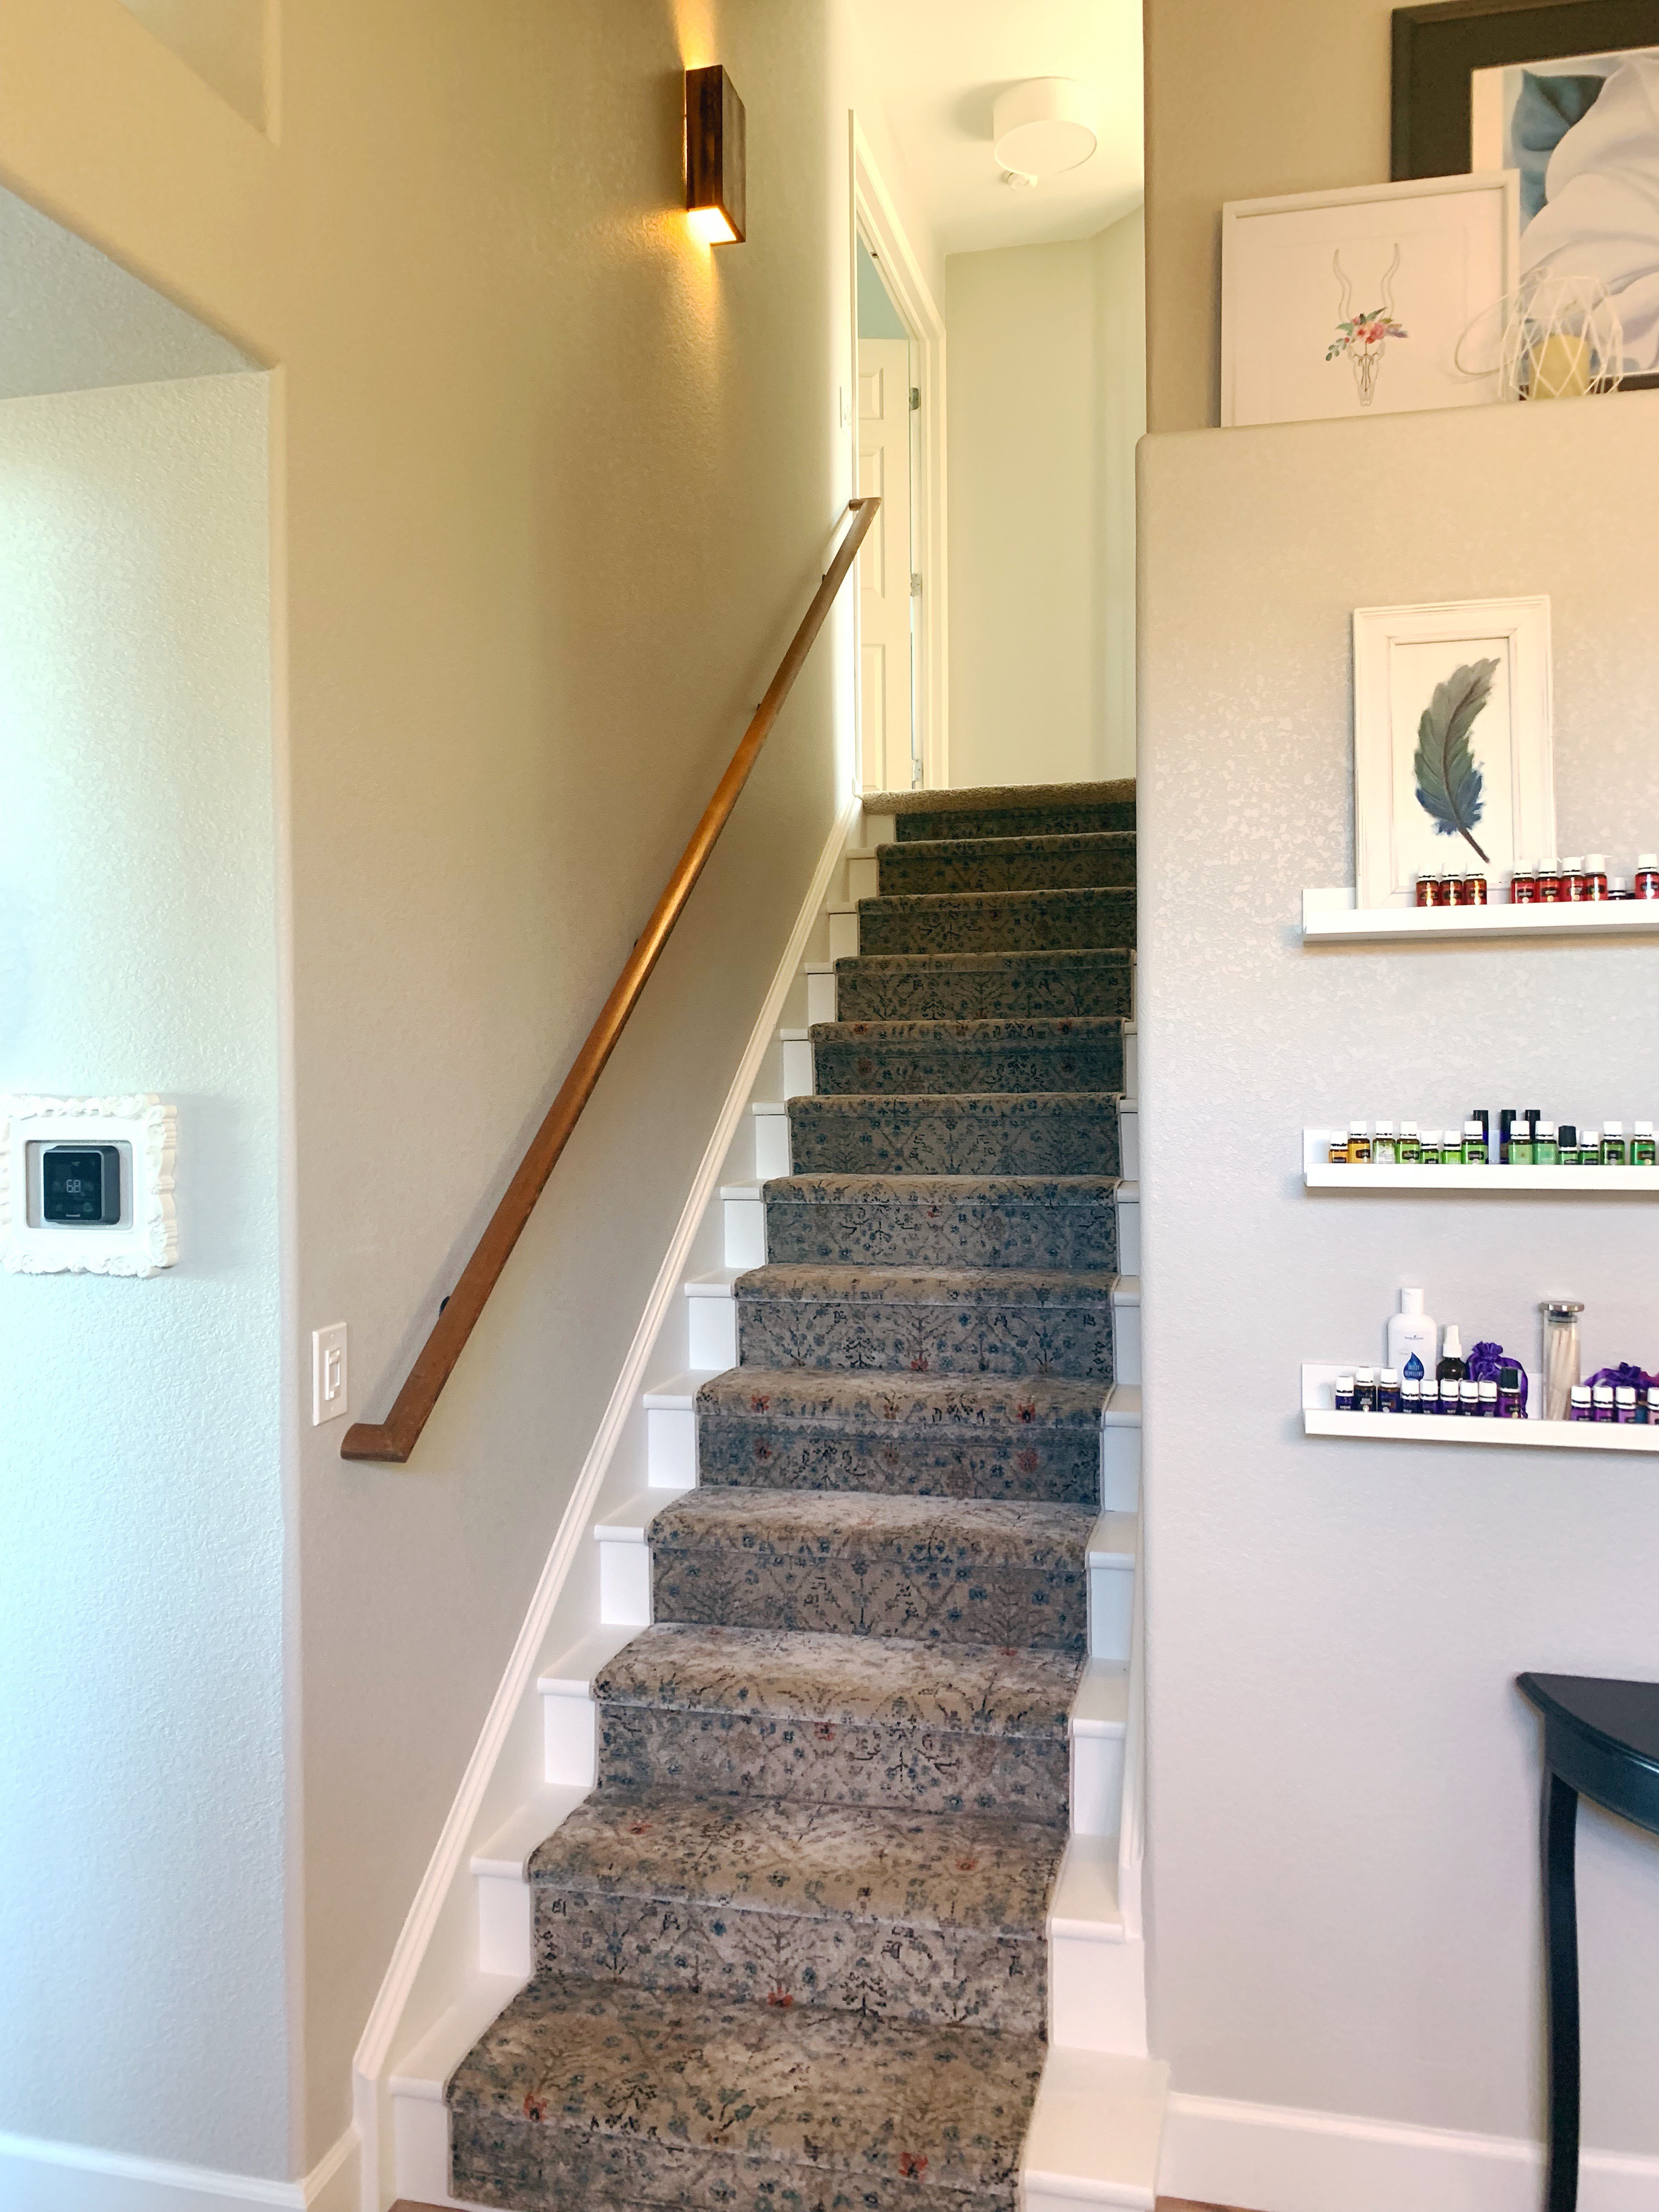
We also sanded and stained the railing we had and made a new sconce using the same stain. I got the idea of the sconce from The DIY Dreamer. We had the wood and stain stain materials already and I liked the clean modern look so we went for it. I’m loving our new stairs. It is such a fresh update to our home that didn’t cost much.